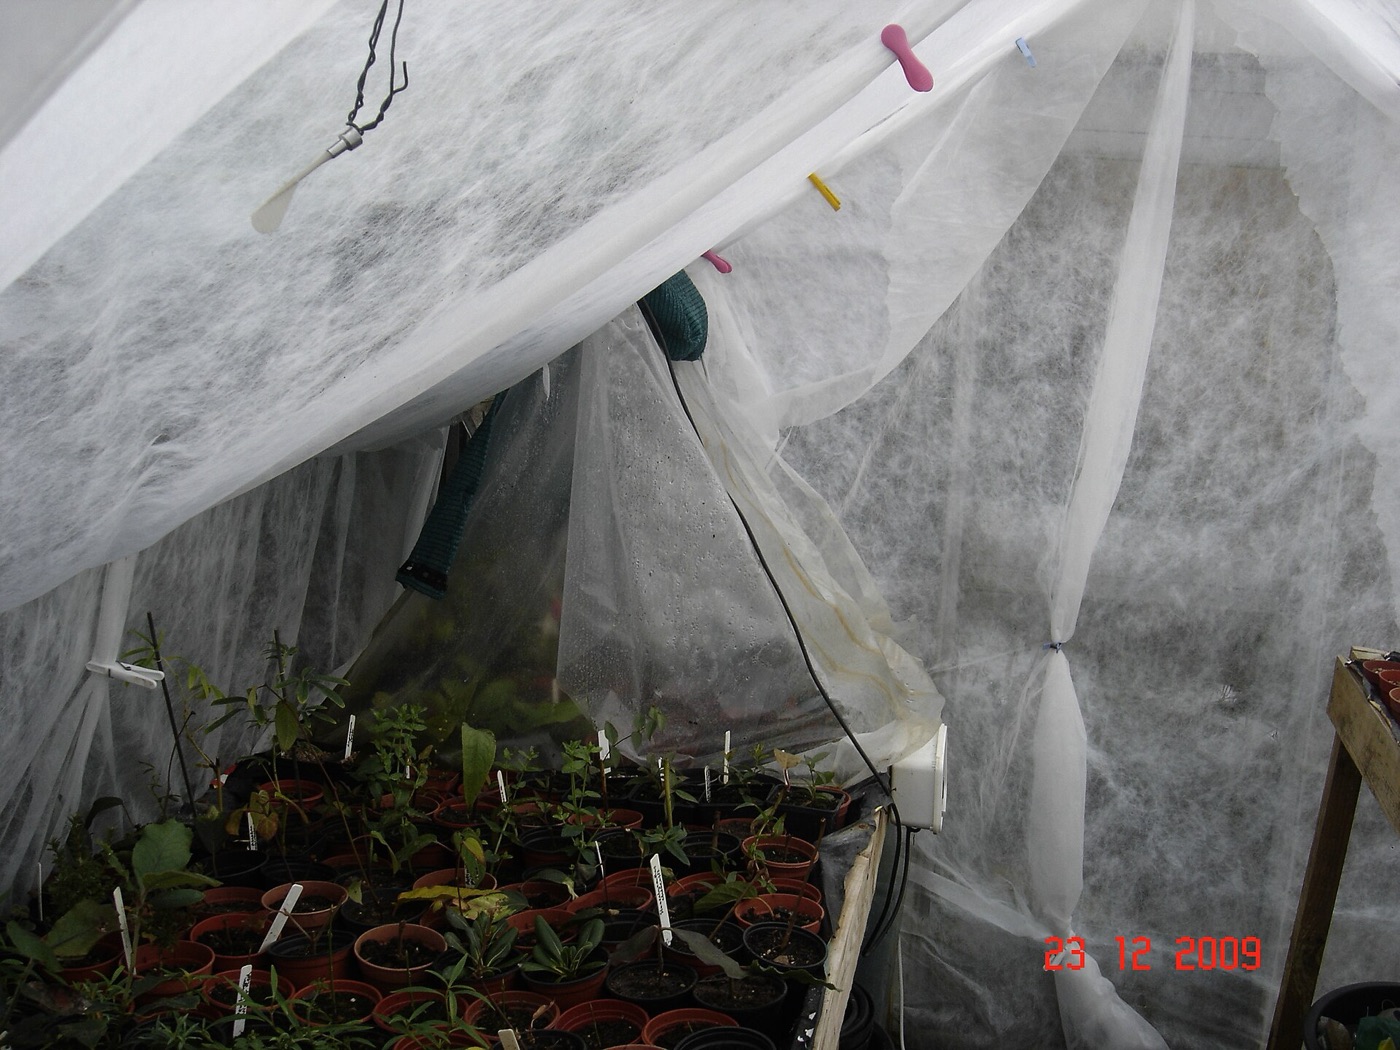
How to Take Softwood Cuttings
Softwood cuttings root from this season's tender growth. Taken at the right moment and kept humid, they turn one shrub into many in a matter of weeks.
Quick answer
Take 10 cm of this year's soft growth, strip the lower leaves, and keep it humid
- When
- Late spring to early summer, while the new shoots are still flexible.
- Material
- Healthy, non-flowering shoots of the current season's growth.
- Method
- Cut below a leaf node, remove lower leaves, insert in free-draining compost.
- Key factor
- Humidity — a cover or mist keeps the leaves from drying out.
What a softwood cutting is
Softwood cuttings are taken from the current season's new growth while it is still soft and green — think of the tip of a shoot in early summer, before it hardens and turns woody. Because the tissue is actively growing, it roots quickly, often in a few weeks. The trade-off is that soft growth loses water fast, so it needs constant humidity to survive while it makes roots.
This is different from semi-ripe cuttings, taken later from growth that has begun to firm up. Softwood suits many shrubs and perennials; semi-ripe suits evergreens and woodier plants.
When to take them
Timing is everything. Take softwood cuttings in late spring or early summer, when the shoots are growing strongly but have not yet flowered or hardened. A good sign is a stem that bends easily and snaps cleanly. Once the wood starts to feel stiff and brown, you have missed the soft stage — switch to semi-ripe cuttings instead.
Take them in the cool of the morning, when the plant is full of water, and keep the cuttings shaded and damp until you pot them.
Step by step
- Choose the shoot. Pick a healthy, non-flowering shoot of the current year's growth. Avoid spindly or diseased material.
- Cut just below a node. Using clean, sharp secateurs, take a cutting about 10 cm long, cutting immediately below a leaf node — the point where leaves join the stem, where rooting hormones gather.
- Strip the lower leaves. Remove the leaves from the bottom half of the cutting, leaving a few at the top. This stops leaves rotting in the compost and reduces water loss.
- Dip in rooting hormone (optional). Powder or gel can help, especially for tricky plants, but many root happily without it.
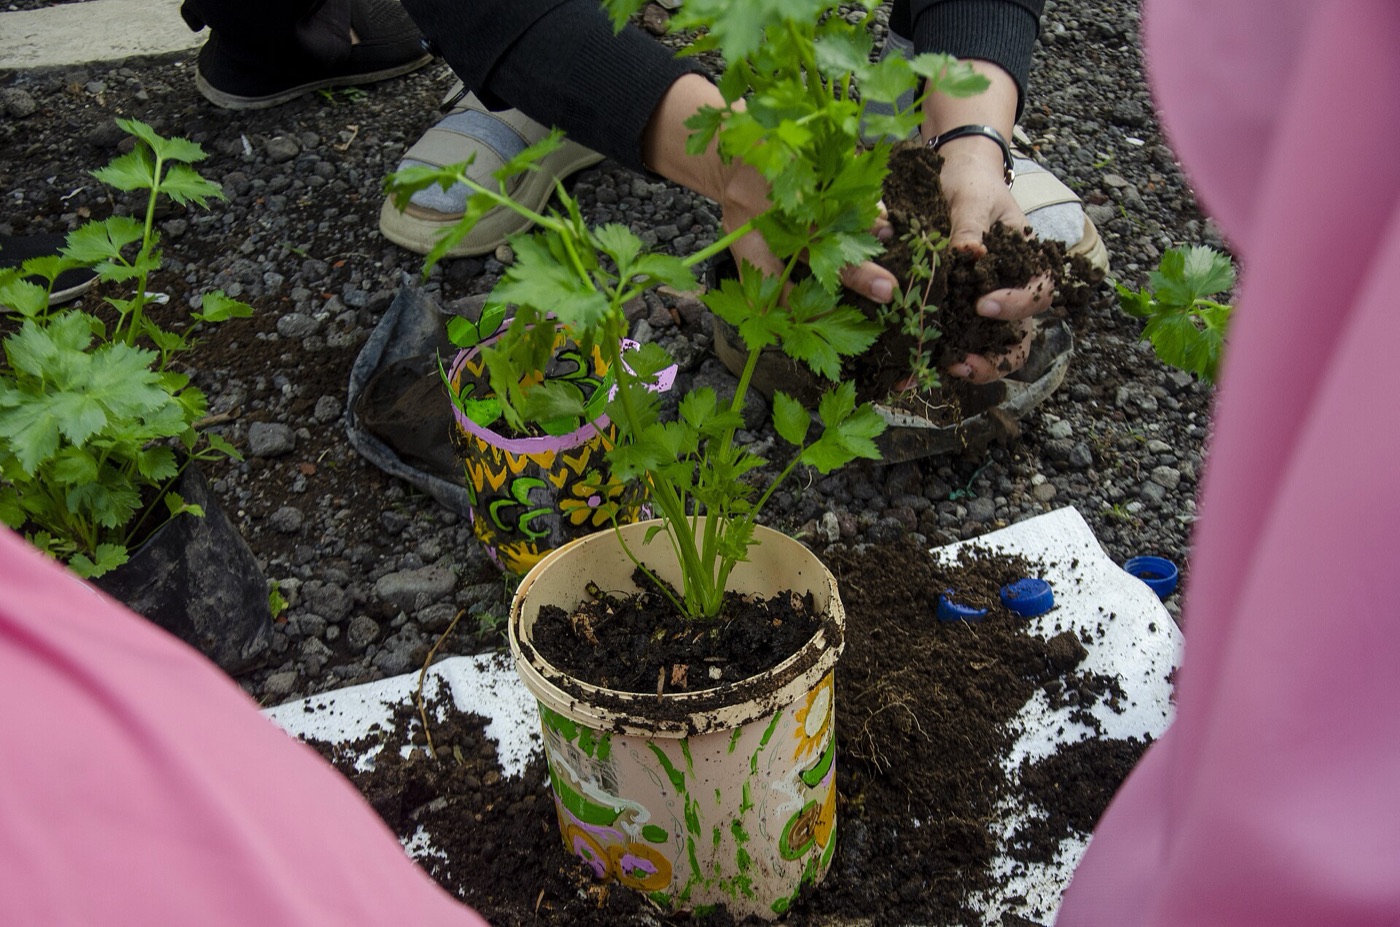
- Insert into compost. Fill a pot with free-draining cutting compost, make a hole with a dibber, and slide the cutting in so the lower nodes are buried. Firm gently around it.
- Water and cover. Water in, then cover the pot with a clear plastic bag or a propagator lid to hold in humidity. Keep it out of direct sun.
- Wait for roots. Check after a few weeks by gently tugging — resistance means roots have formed. Vent the cover now and then to prevent mould.
Aftercare and potting on
Once a cutting resists a gentle tug, it has rooted. Remove the cover and let it acclimatise to normal air over a week, then pot it on into a slightly larger pot of ordinary compost. Keep it watered and sheltered as it grows, and plant it out the following spring once it is a sturdy young plant.
The enemy throughout is drying out — a cutting with no roots cannot replace water lost through its leaves. If the leaves shrivel, the cutting has dried out. If they turn black and slimy, it was too wet or too dark. Aim for damp air and moist-but-not-soggy compost.
How long do softwood cuttings take to root?
Often two to six weeks, depending on the plant and the warmth. Fast growers root quickest; woody plants take longer.
Do I need rooting hormone?
It helps with difficult plants but is not essential for easy ones. Clean tools and good humidity matter more.
Why did my cuttings rot?
Usually too much water, too little air, or a cover left sealed without venting. Let surplus moisture escape and do not overwater.
Tools for this guide
Related guides
- How to Take Semi-Ripe Cuttings
- How to Propagate Rosemary and Lavender
- Hardening Off: The Checklist Before Seedlings Go Outside
Sources and research notes
Method follows UK horticultural guidance on softwood cuttings. Success varies with species, timing and conditions.
Written and edited by the Seedledge Editorial. Every guide answers one real growing question, is checked against the sources listed above, and is updated when guidance changes. We are an independent editorial desk, not horticultural professionals — read how we research and update our guides.