How to Divide Bearded Iris (and Get More Flowers)
Crowded bearded iris stop flowering and start rotting. Lifting and splitting the rhizomes every few years keeps the clump healthy and gives you free plants.
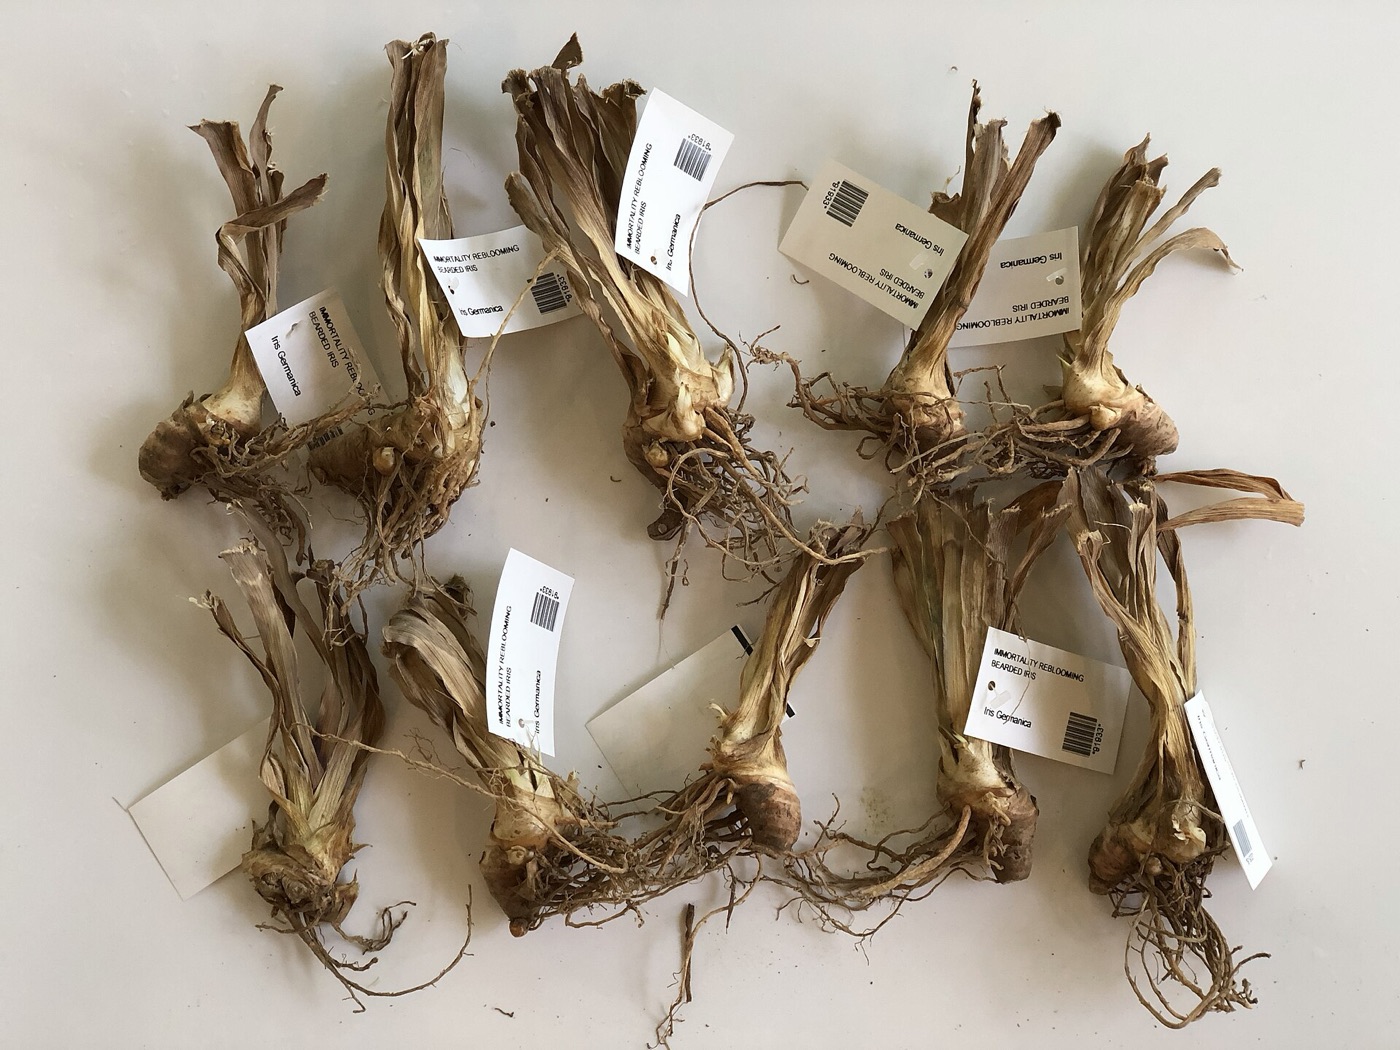
Bearded iris grow from thick, fleshy rhizomes that creep along the soil surface. Left alone, a clump becomes a tight ring with a bare, woody centre and crowded edges, and flowering drops off. The plants are not sick — they are simply choking each other. Dividing them restores airflow, cuts disease and multiplies your stock.
The good news is that bearded iris are among the easiest perennials to divide. The rhizome is big and obvious, so you can see exactly what you are doing.
When to divide
The traditional window is late summer, about six weeks after flowering, when the plant is semi-dormant but the soil is still warm. In the UK that usually means July to September. Avoid dividing in the middle of the growing season while the plant is pushing up leaves, and avoid midwinter when the ground is cold and wet.
If you are only tidying a crowded clump rather than lifting the whole thing, you can also slice off outer pieces with a spade at almost any time, as long as you water them in.
Step by step
- Lift the clump. Use a fork to ease the whole rhizome mass out of the soil, working well underneath so you lift rather than spear it. Shake off the loose earth so you can see the structure.
- Break it into pieces. Snap the rhizomes apart by hand where they naturally join, or cut them with a clean knife. Each new piece should have a firm section of rhizome with at least one fan of leaves and some roots.
- Discard the old centre. The woody middle of the clump is the oldest, least productive part. Compost it. Keep the strong outer pieces for replanting.
- Trim the leaves. Cut the leaf fans back to about 15 cm and trim any ragged roots. This reduces water loss while the division re-establishes.
- Check for rot and borers. Cut away any soft, smelly or borer-damaged tissue, cutting back to clean, firm rhizome. A healthy rhizome is pale and solid.
- Replant shallowly. Set each piece so the top of the rhizome sits just at or slightly above soil level, with the roots spread below. Firm the soil around it and water in.
The classic mistake: planting too deep
Unlike most plants, bearded iris want their rhizomes exposed to the sun. If you bury them, they sulk, rot or refuse to flower. Plant them so the rhizome's upper surface is visible, or barely dusted with soil. If you garden in very hot sun, a light covering is fine, but never deep.
Space the divisions about 30 cm apart, with the leaf fans pointing away from each other, so air can move between them. Good airflow is the best defence against the rot that loves crowded, damp clumps.
Aftercare
Water the new divisions in and keep them from drying out completely for the first few weeks while roots take hold. Once established, bearded iris are drought-tolerant and need little beyond an annual tidy: remove dead leaves in autumn and cut the old flower stems down after flowering.
Which pieces to keep
Not every piece of a lifted clump is worth replanting. The best divisions are the youngest, outermost sections — firm and thick, with a healthy fan of leaves and a good set of roots. The old centre is woody and tired; compost it. If a rhizome has a soft patch, cut back to clean, firm tissue before planting, and if most of it is affected, discard the whole piece rather than risk spreading rot through the bed.
It pays to be choosy. A handful of strong divisions will outperform a dozen weak ones, and you can always divide again in a couple of years once the replanted pieces have bulked up.
If things go wrong
- No flowers next year. Usually too deep or too shaded. Check planting depth and move them into full sun.
- Soft, smelly rhizome. Rot. Cut out the affected tissue, discard it, and replant the firm parts in well-drained soil.
- Small holes in the rhizome. Iris borer. Remove and destroy the damaged sections; do not compost them.
Related guides
- How to Divide Ornamental Grasses
- How to Divide Hostas and Daylilies
- How to Propagate Strawberry Runners
Sources and research notes
Method follows UK horticultural guidance on dividing rhizomatous perennials. Results vary with soil, drainage and climate.
Written and edited by the Seedledge Editorial. Every guide answers one real growing question, is checked against the sources listed above, and is updated when guidance changes. We are an independent editorial desk, not horticultural professionals — read how we research and update our guides.